Wednesday, March 16, 2011

Easter Basket Tutorial

Easter Basket Tutorial


In this tutorial, I am going to show you how to make this ADORABLE Easter Basket! You will be using Close To My Heart exclusive products to create this one of a kind creation!! You can order the supplies for this project on my Close To My Heart Website! http://tahorton.myctmh.com


Supplies Used
Sophia Workshop on the Go (G1019)
Hollyhock Ink (Z2128)
Blush Ink (Z2106)
Paper Piercing Kit (z1114)
Scallop Punch (z1392)
Circle Punch (Z1311)
Acrylic Blocks
Scissors
Paper Trimmer
Bone Folder
Ribbon

Order your supplies at http://tahorton.myctmh.com

Ashley Horton
Close To My Heart Consultant
http://tahorton.myctmh.com
http://scrap-paper-scissors.blogspot.com
tahorton@myctmh.com

Tuesday, January 25, 2011

Valentine Treat Pouch Tutorial


Hey scrappers! Welcome back to the Scrap, Paper, Scissors Training Academy! We are going to be working on a cute and fun Valentines Day Project using the NEW Scrapbook Workshop on the Go by Close To My Heart. This workshop kit comes with an the Sweetheart B&T Duos paper, Sweetheart Stamp Set, Sweetheart Epoxy Stickers as well as the workshop guide. With my leftovers, I planned this AWESOME project to show you! Lets begin, shall we?


Cut a piece of black cardstock 5 1/4 x 7 7/8- Then score it at 2" and 5". Then rotate it and cut it at 1".

Then, you are going to cut a piece of b&t duos, I used the flowery one, and cut it at 7 7/8 x 3 3/4 In a later step, you will wrap it around the black base.
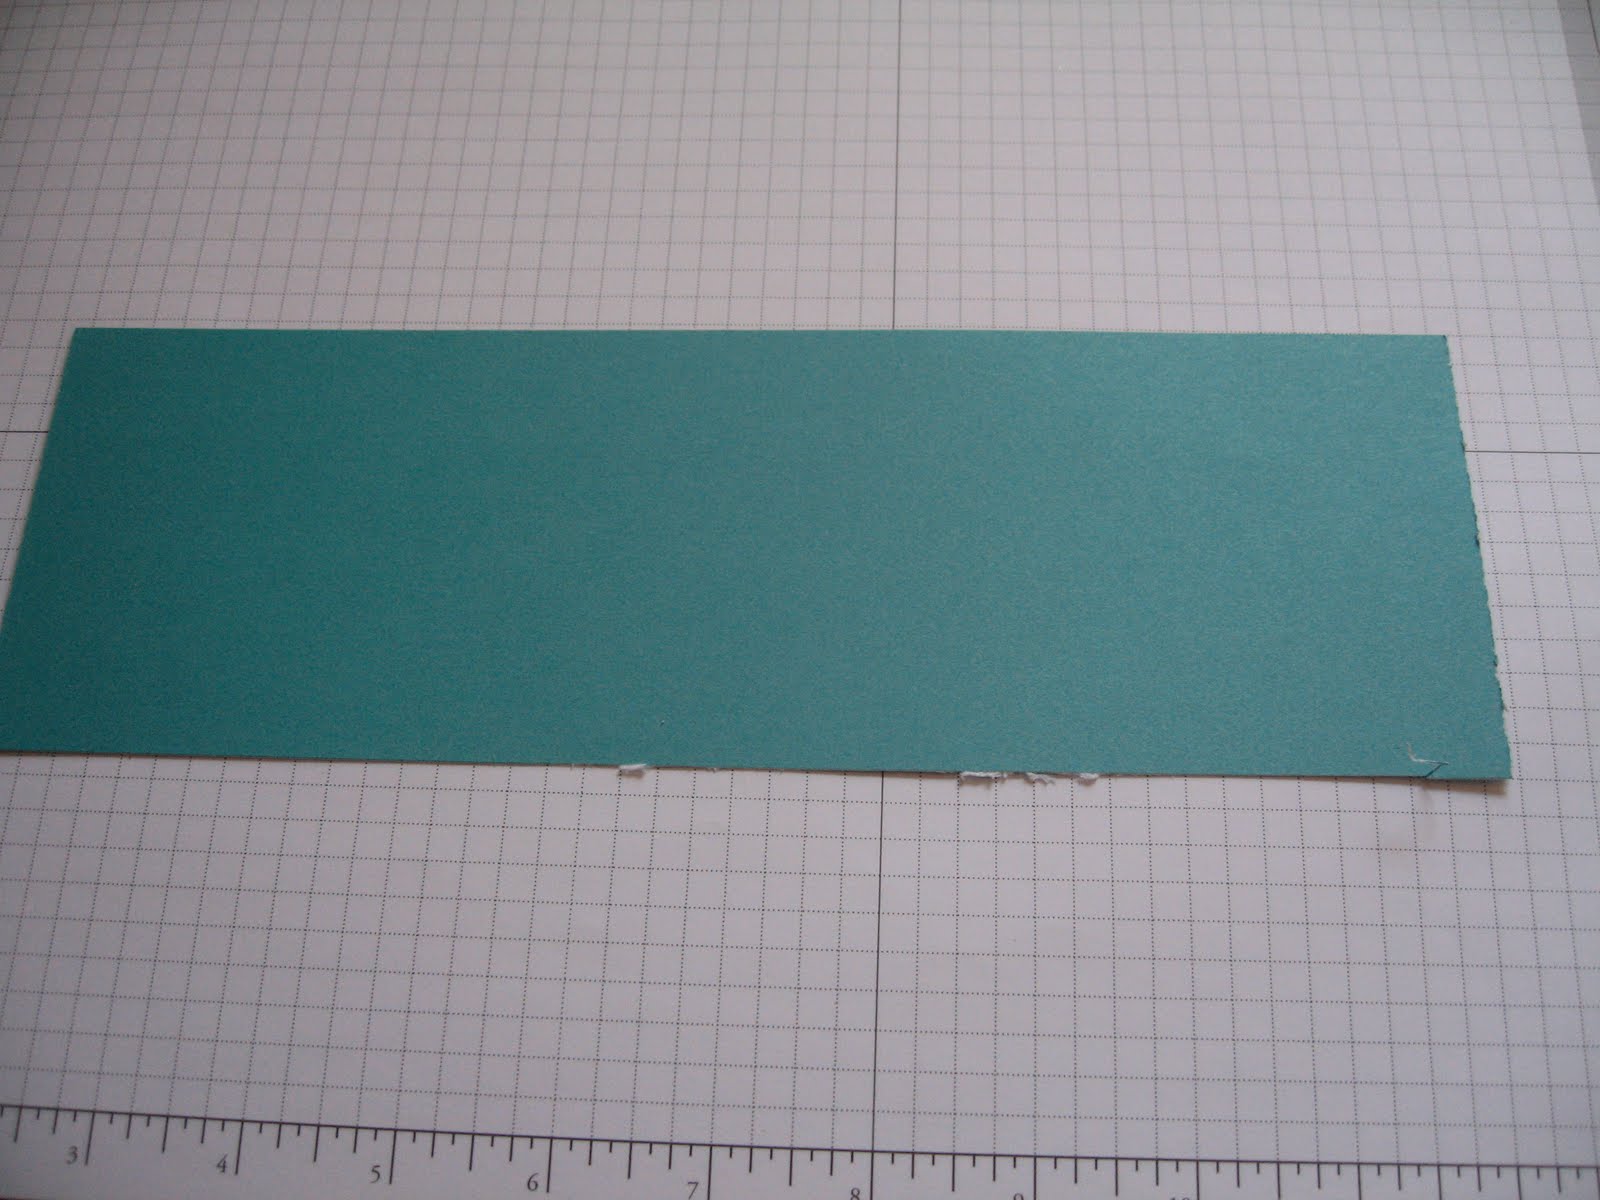
The next step is to take the back of the b&t duos paper - this is going to be up to you on how wide you want it, but you will need to make it long enough to go around the entire pouch.


As you see my sandwich above, you are going to want to layer these three pieces of paper around each other.Now, this is what your pouch should look like so far!
Our next step is going to be the tag that goes inside of our pouch. Ok, you are going to cut a piece of cardstock at 2 3/4 x 4 1/4. Round the corners. Then you are going to cut a piece of b&t duos at 4x2 1/2. Round these corners and adhere them together and add a ribbon at the top.
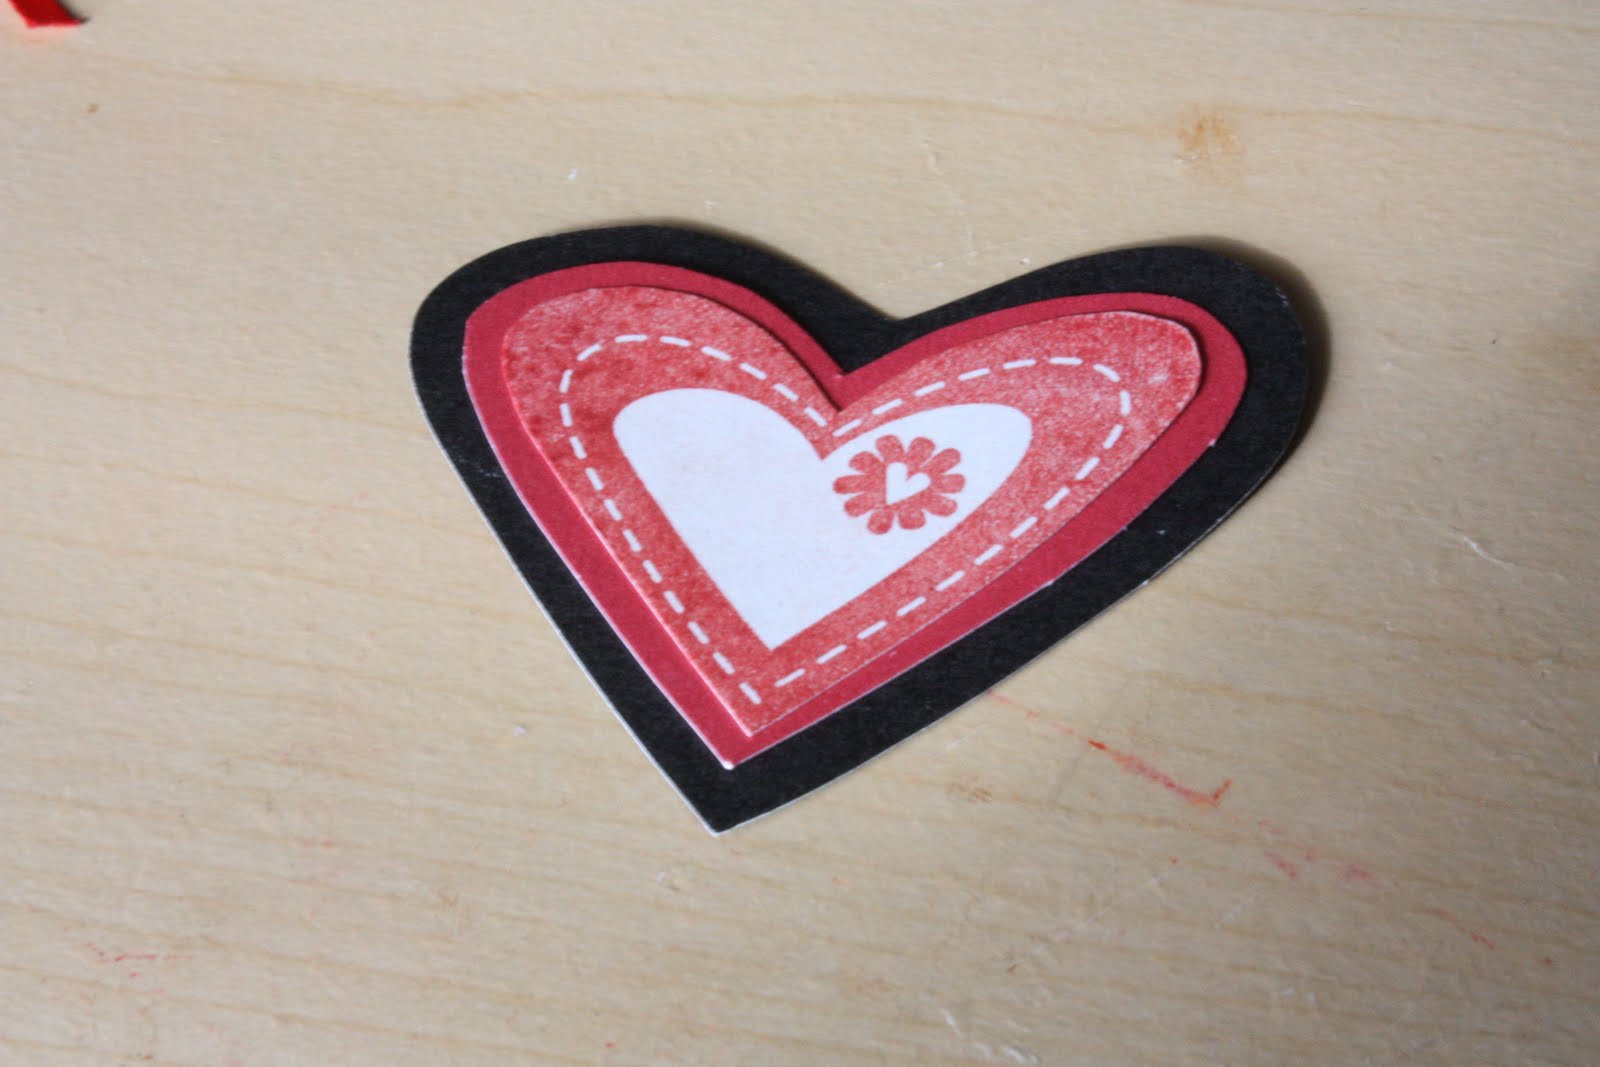
Using the larger heart stamp on your new stamp set, use cranberry ink and stamp it on white paper. Then, you are going to cut it out and glue it on a piece of red scrap paper, and cut around the edges, leaving some room. Then, you are going to glue it on the black paper and cut around the edges leaving some room as well. Now you have a nice sturdy interactive heart! Take 3D foam and glue it on the front of your pouch-

Here you go! This is your final pouch! Enjoy!

{Supplies Used: Sweetheart Workshop on the Go, Cranberry Ink}
**Sweetheart on the Go will be available for purchase on FEBRUARY 1ST, 2011!**

Ashley Horton
Close To My Heart Consultant
http://tahorton.myctmh.com
tahorton@hotmail.com

Tuesday, January 11, 2011

Feminine Flowers Greeting Card

Feminine Flowers Card


Materials Used
Magnifique Paper
With Love Stamp
Topiary, Dutch Blue, Chocolate Stamp Pads

Ashley Horton
Independent Close To My Heart Consultant
http://tahorton.myctmh.com
tahorton@myctmh.com

Check us out on Facebook!
http://www.facebook.com/pages/Scrap-Paper-Scissors/107478552631789

Greeting Card Holder Box


New Tutorial! Greeting Card Holder Box
(This is not an original creation. The instructions for this were originally posted on the CTMH Consultant Bulletin Boards.)


Hey Stampers! I am so excited to be back on the air! I was browsing the bulletin boards and found this awesome greeting card box that I wanted to share with you! I thought, As I am creating it why don't I just hook up the cam? So I stuck on my CTMH Apron and here we go!

Materials Used:
CTMH B&T: Magnifique Paper (x7127B),
Ink Pad: Chocolate (Z2111)
Stamp: Because I Love You (Retired)

Ashley Horton
Independent Close To My Heart Consultant
http://tahorton.myctmh.com
tahorton@myctmh.com

Check us out on Facebook!
http://www.facebook.com/pages/Scrap-Paper-Scissors/107478552631789

Tuesday, August 24, 2010

Tri-Fold Triangle Card Tutorial- With a Twist!


Supplies Needed: Hooligans Paper Packet (AVAILABLE SEPTEMBER 1ST HERE) -or- I used the Hooligans Workshop on the Go, which came with the stamp set and the Paper! Ink Stamp Set (I used the one that you can ONLY GET in the Hooligans Workshop on the Go! Adhesive Step One: Cut a piece of Lagoon Cardstock 3 1/2 x 10 1/2 Step Two: Score at 3 1/2 x 7 Step three Score diagonally on each side- the Scores should face the same direction Step Four Pre-fold your card so it folds up into a square, adhere the flaps under Step Five Cut a piece of patterned paper 3 1/4 x 3 1/4 and then cut diagonally

Step Six Glue your diagonal patterned paper on each of the flaps Step Seven: Stamp a Monstor from your stamp set on a piece of white cardstock 1 3/4 x 2

Step Seven: Prepare your outside image and layer- Cardstock: 2 1/4 x 2 1/2, Patterned paper: 2 x 2 1/4, White Cardstock with stamped image 1 3/4 x 2

Thanks!

Ashley Horton
Close to My Heart Consultant
http://tahorton.myctmh.com
tahorton@myctmh.com
Happy Stamping!

Wednesday, August 18, 2010

Easel Card Tutorial


In due time, all of my friends and family will be able to get a good look at the NEW Close To My Heart Fall and Winter Catalog, and it is AMAZING! But in the meantime, let me make your eyes twinkle with a sneak peak of the new products in action! You can use your fabulous CTMH Products that you already have, but be ready to want want want the new products!!


Easel Card

Supplies Needed:
4 1/4 x 8 1/2 Piece of Pear Cardstock Paper
Piece of White Cardstock 4x4
Piece of Hooligans Patterned Paper 4x4
Stamp Set
White Cardstock for Stamping
3 3/4 x 2 Lagoon Cardstock (For outside)
1 1/2 x 4 1/4 piece of Lagoon Cardstock (for inside)
Brads
Ink


Step One:
With your 4 1/4 x 8 1/2 piece of cardstock flush the long way on your paper cutter or scoring system, score at 4 1/4 and 6 3/8. Crease your folds

Step two:
With the 4 1/4 side down, adhere your 4 1/4 seperate square so that it is completely matched up with your square as it is folded. only adhere it to the top tab.

Step Three
Decorate the inside by stamping on your 4 1/4 piece of white cardstock. Adhere.

Step Four:
Scallop the edges of your 4 1/4 x 1 1/2 piece of lagoon cardstock. adhere to the bottom. Let the flaps loose so that they will catch the easel part when it sits up.

Step Five:
Adhere your Hooligans 4" square paper to the top of the easel. Stamp your images on white cardstock and decorate. Find a good place to put your brads- Remember- in threes works best!


Ashley Horton
Close To My Heart Consultant
tahorton@myctmh.com
tahorton.myctmh.com

Thursday, July 1, 2010

Definition Of You Mini Album

A Board Book of Sorts


So you know that thin cardboard that comes in the back of labels or paper to support it, or in packaging? Its almost like a really thin chipboard? Well I save up a bunch that gets tossed at work and have been making some ADORABLE mini albums with it! This mini album is for a dear friend at work who has been amazingly kind. We have been friends for almost a year now, and so this I made especially for her! I don't have directions, because this is a take it as you go project, however the chip-board is measured at 5 1/4 x 3. I put two binder rings at the top to hold it together, so she can pick a definition for a day and display it at her desk! LOVE it!

Here are the inside pages:


{Supplies: Boards from Packaging, State of Mind Stamp Set, Brown Bag Ink, Flowers, Lacey Ribbon, Gems, Bigger Brads, Classmate Alphabet, Homestead Alphabet}


Ashley Horton
Independent Close To My Heart Consultant
http://tahorton.myctmh.com
tahorton@myctmh.com